Michele Conway, Belle Cottingham, Alastair Duncombe and, Amanda George Solutions for Exercise 5: Exercise 2
Michele Conway Mathematics Solutions for Exercise - Michele Conway, Belle Cottingham, Alastair Duncombe and, Amanda George Solutions for Exercise 5: Exercise 2
Attempt the free practice questions from Exercise 5: Exercise 2 with hints and solutions to strengthen your understanding. Cambridge Lower Secondary Maths Stage 9: Student's Book solutions are prepared by Experienced Embibe Experts.
Questions from Michele Conway, Belle Cottingham, Alastair Duncombe and, Amanda George Solutions for Exercise 5: Exercise 2 with Hints & Solutions
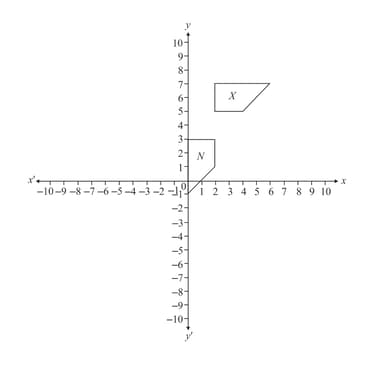
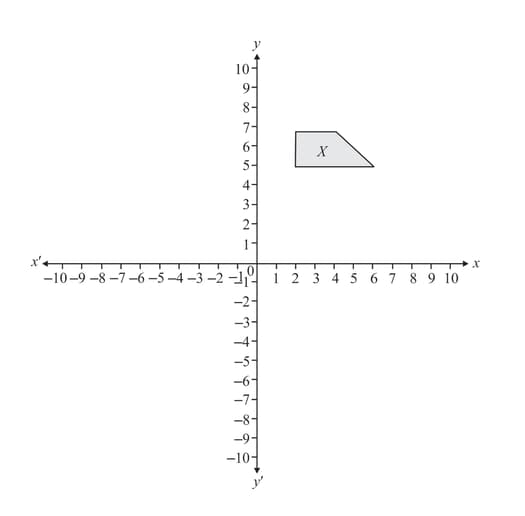
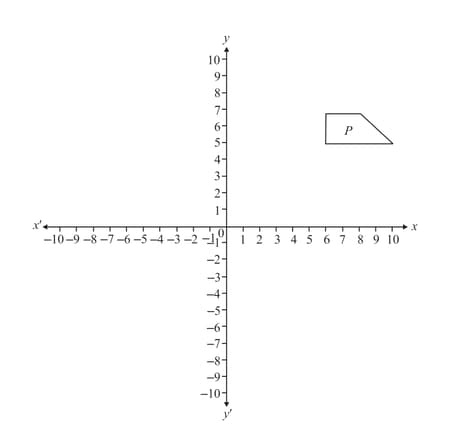
The diagram shows a shape on a grid. Copy the diagram. Reflect in the line and label the image .
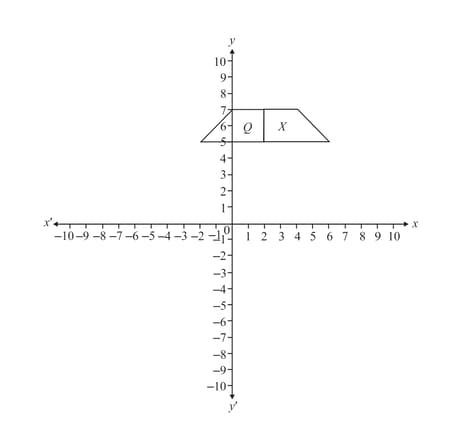
Describe mathematically the single transformation which takes to .
Translate by squares to the right and label the image .
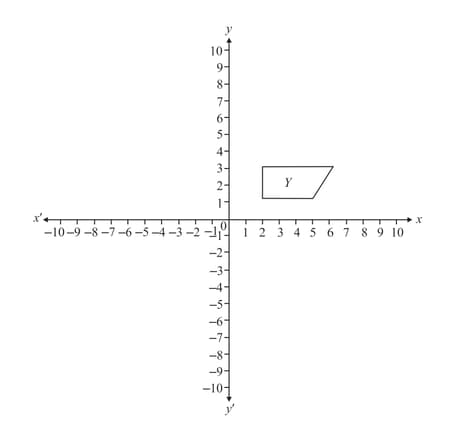
Reflect in the line and label the image .
Describe mathematically the single transformation which takes to .
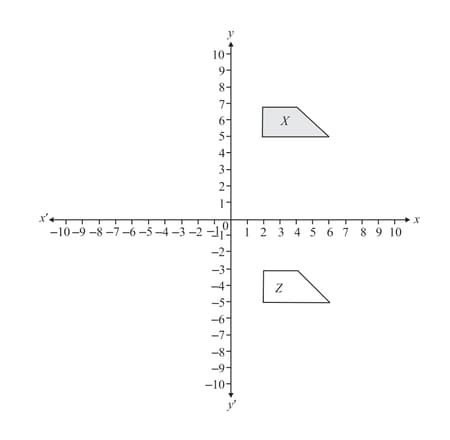
Rotate through clockwise about the point and label the image .
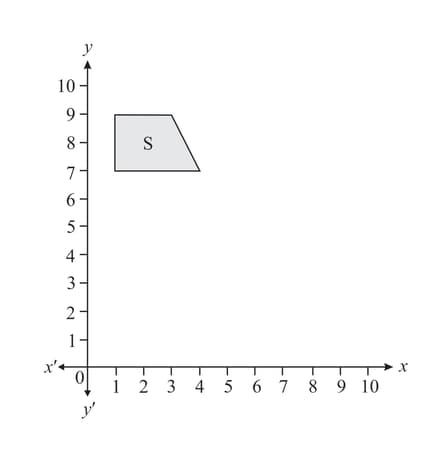
Translate by squares to the left and squares up and label the image .
Describe mathematically the single transformation which takes to .